*Marcus treats my various shin and foot ailments in order to keep me running. He also likes being part of an underground economy, so instead of paying him, I give him two loaves of bread a month.
I use the following Oatmeal Toasting and Sandwich Bread recipe from King Arthur Flour.
3 cups KAF Bread Flour
1 cup old fashioned oats
2 tblsp butter
1 1/2 tsp salt
3 tblsp honey OR brown sugar (I use honey)
2 tsp instant yeast or 1 packet dry active yeast (I always use instant, but if you're using the dry active, then dissolve it warm milk before adding to the remaining ingredients)
1 1/4 cups lukewarm milk (around 100 degrees)
Mixing the dough
In a bowl of your electric mixer (or in a large mixing bowl, if you are looking to build up your arm muscles), combine all of the ingredients, mixing to form a shaggy dough. "Shaggy" means rough and uneven. See?

Sometimes, the dough is just a little dry--those oats soak up a lot of moisture! If you find that the ingredients are just not coming together, then you can add a small amount of water. Here's how I do it: Place your hand under the faucet and wet it. Then sprinkle the water from your wet hand onto the dough.

I know this is only adding a tiny amount, but you usually only need a very small amount of water to bring a dough together and adding too much means you have to add more flour and then your ratio of ingredients is off... Trust me, this way may mean you have to wet your hand two or three times, but it's better in the long run.
Knead the dough with the mixer for 5 minutes. or until it's smooth. (If you're kneading by hand, it usually takes about twice as long.

Place the dough in a lightly greased bowl, cover and let it rise for an hour. It will get puffy, but may not double in size.

See? Not exactly double, but plenty puffy!

Shaping the Loaves
Lightly grease or oil your countertop. Take the dough out of the bowl and place it on the countertop. If you're making a double batch, then divide it in half and keep the one half covered while you're working with the other. Pat or roll the dough into approximately a rectangle about 9x15". I like to place the bread pan at the top of the counter to make sure I don't pat it out too wide. (Yes, you do have to tuck the ends under, but it also lengthens when you roll it up.)

Then, making sure you start with a tight roll at the beginning, roll the dough up into a log shape.

Pinch the seam closed with your fingers (my preferred way) or roll the seam under your palm until it's closed.

Then, take the ends of the bread log and tuck them under towards the seam side--so you have a nice, uniform top to your bread and all the seams and tucking are on the bottom. Pinch the tucks closed into the log. So it looks like this:

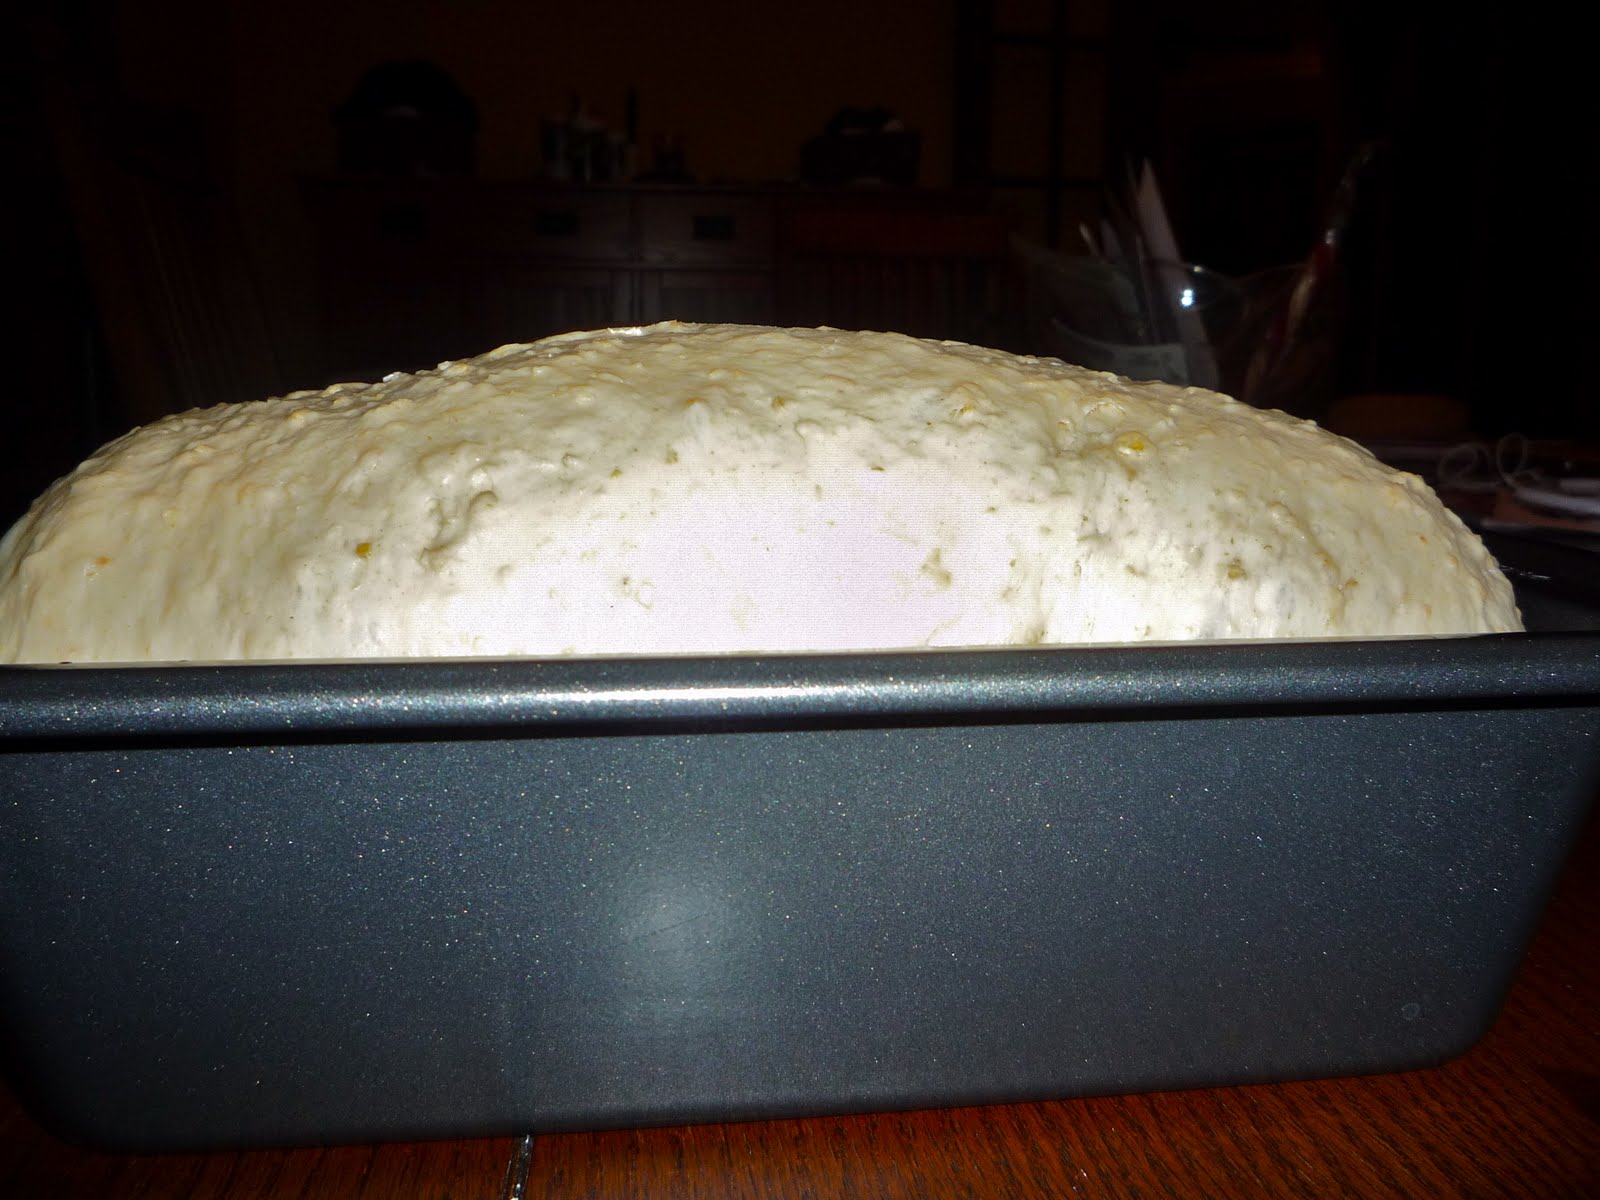
Place the dough in your lightly greased 9"x5" pan, cover it and place it in a warmish area to rise again.

Once it's risen to about 1"-2" over the lip of the pan, preheat your oven to 350 degrees. It's time to bake it!

The recipe says to bake it for about 35-40 minutes, but I almost always find that it needs a few more minutes in the oven--and my oven runs warm. I think it's usually about 43 minutes for me. If the loaves are browning too quickly (always does in my oven) tent the loaf with aluminum foil for the final 10 minutes of baking.

Ah...there's nothing quite like the smell of baking bread. Once it's done, remove the loaves from the oven, take them out of the pans immediately and set the loaves on a wire rack to cool.

If you're a small household like us, or just don't eat a lot of bread, this is a great recipe because it freezes fantastically. Just slice the loaf up, wrap slices in heavy duty foil (I do four at a time) and pop it in a freezer bag. I've eaten bread that's been in the freezer for 3 months and didn't taste much different. Plus, it's SO much better than keeping it in the fridge for a long period of time where the loaf just goes stale.
Woo! All this bread baking has got me excited for the artisan bread baking class I'm taking at The Chopping Block in a couple of weeks!

No comments:
Post a Comment